Elastic Load Balancers- Aws

Today we will talk about how ELB works in AWS. Also, we will deploy ELB on an Apache web server that runs a webpage.
ELB are used to distribute traffic to your instances and they can also help reduce attacks directly to your main server.
A load balancer distributes workloads across multiple compute resources, such as virtual servers. Using a load balancer increases the availability and fault tolerance of your applications.
You can add and remove compute resources from your load balancer as your needs change, without disrupting the overall flow of requests to your applications.
You can configure health checks, which monitor the health of the compute resources so that the load balancer sends requests only to the healthy ones. You can also offload the work of encryption and decryption to your load balancer so that your compute resources can focus on their main work.
To see this in action, create 2 EC2 instances on AWS in the same VPC.
Install httpd service
yum install httpd -yRestart httpd service
systemctl httpd restart
Edit the index.html file of the server, so that it displays your content on web page using vim editor.
vim /var/www/html/index.html
The content that I have added is "THIS IS WEBSERVER 1" on one EC2 instance.
Follow the same, on the second EC2 instance.
Only the content of the webpage should change, mine is "THIS IS WEBSERVER 2"
Make sure we have HTTP and port 80 open in the security group of your EC2 instance, if not edit the inbound rules and open them.
Now, using the public IP access the webpage on port 80. Both instances should show the content.
Configure Load Balancer:
In this, go to load balancer and select classic loadbalancer and then create.
Give a name to the loadbalancer, I have given ELB1.
Select the instances that you need to add to the loadbalancer, the same which we created above.
Next, select security group. Again you can select an existing security group which has HTTP enabled and port 80 open.
You can also create a new security group with HTTP enabled and port 80 open.
Click next , add tags if required and loadbalancer will be created.
Perform the same, to create the second load balancer ELB2.
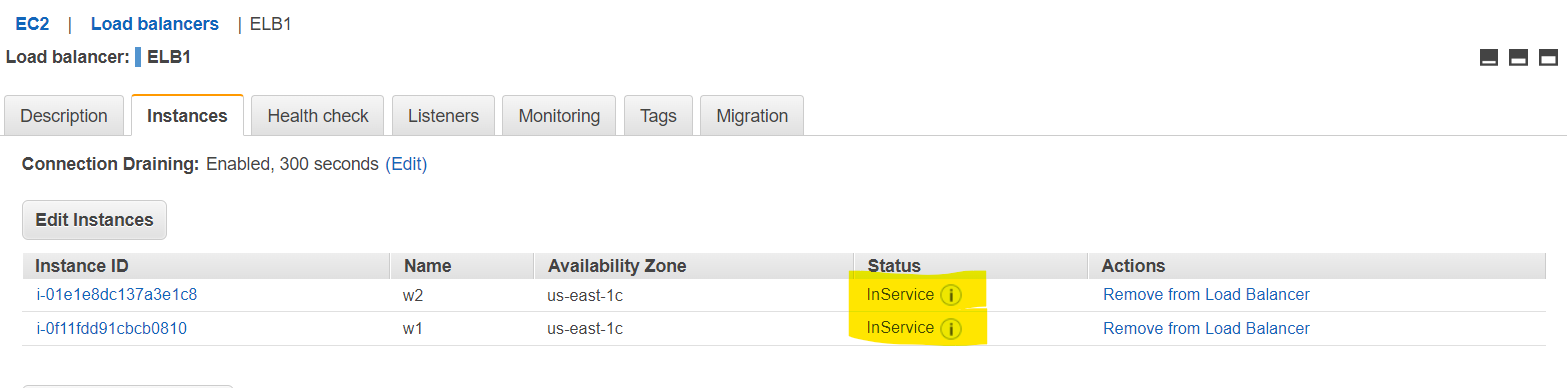
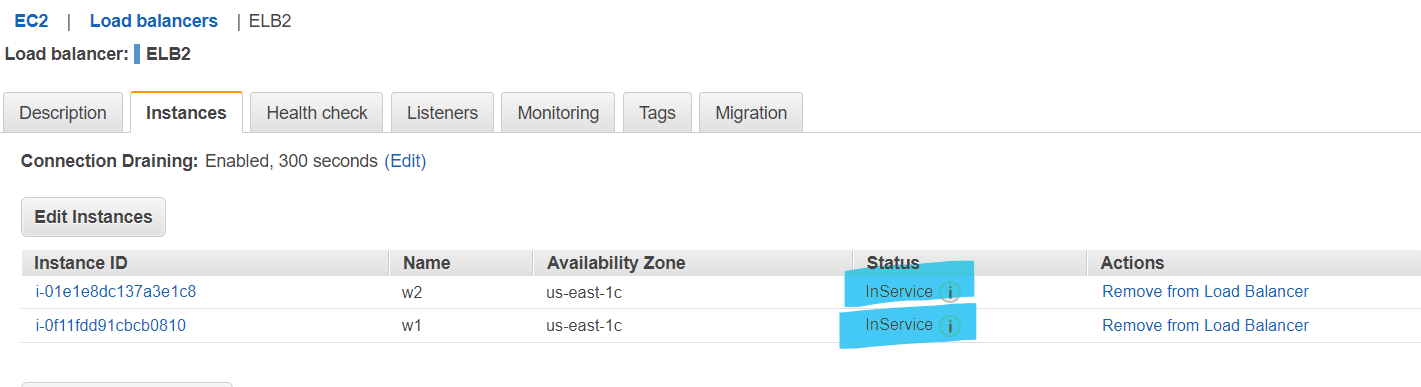
As you can see, we have loadbalancers created and the added instances are InService state.
Now go to the description tab and copy the DNS URL and open it.
Here, we are trying to access the index.html using ELB.
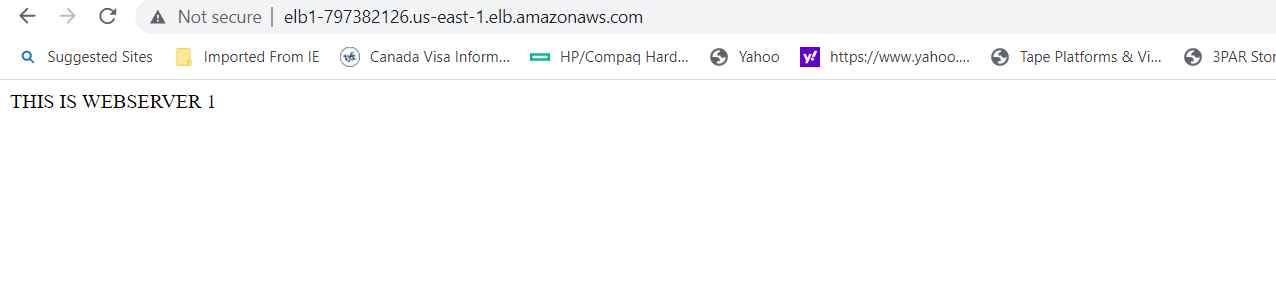

This is how it should look like. ELB1 shows webserver 1, means its accessing instance1 via ELB1 and vice versa for ELB2.
Now refresh the web page, you should see after refreshing the web page the content changes from "THIS IS WEBSERVER 1" to "THIS IS WEBSERVER 2"
Which means the load balancer, accessed the web page through the other ELB and in turn other instance for subsequent traffic/requests.
This concludes our ELB demo and hope it was useful as well, this is Layer 4 load balancer at transport layer. We can have load balancer at Application layer as well which is Layer 7.
Do read, like and share feedback. Happy learning!!


